Much more detail and pictures and step by step instructions to expand on my previous post.
(
@rbentnail - is this me being a geek, or am I just trying to be helpful ??

)
To Record a Track
Main Screen -> Track
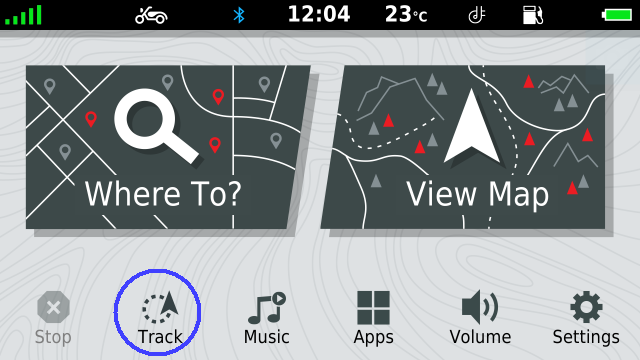
- Main Screen.png (113.08 KiB) Viewed 13017 times
-------------------------------------------
Tap Start (The button changes to Stop when you do this. Don't press it again.)
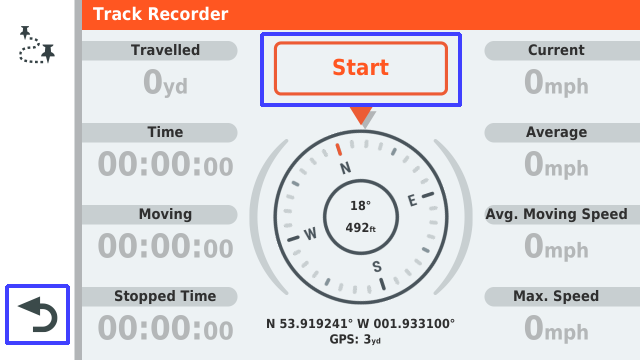
- Press Start.png (66.88 KiB) Viewed 13017 times
Click Back to get back to the main screen.
-------------------------------------------
On the Main Screen, note the orange circle that shows that a track is recording.
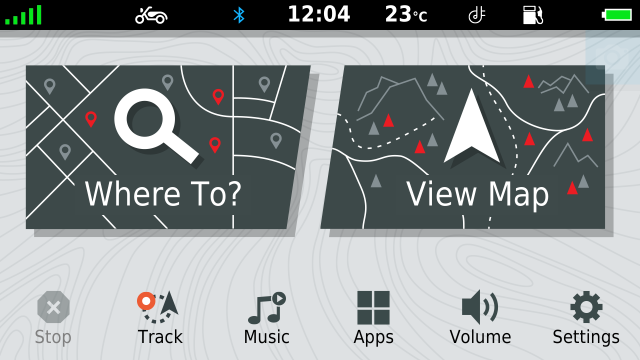
- Main Recording.png (113.27 KiB) Viewed 13017 times
-------------------------------------------
Load route as normal, go ride, come back home.
When you return home, you need to stop the recording.
Select: Main Screen -> Track
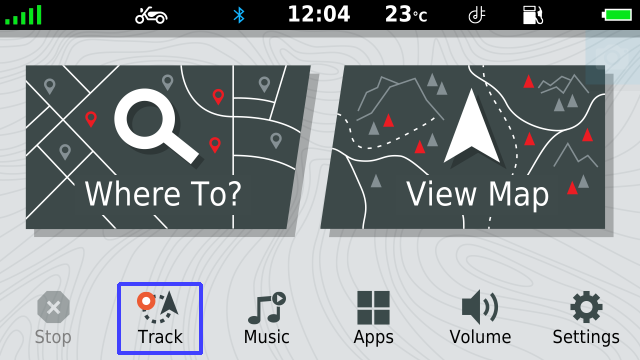
- Stop Recording.png (113.39 KiB) Viewed 13017 times
Select Stop
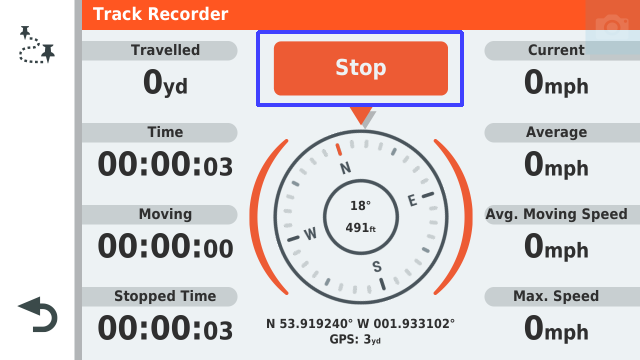
- Press Stop.png (70.19 KiB) Viewed 13017 times
Tap Save.
You may get a message referring to collections. This will appear if you have Garmin Explore set up on your XT. Dismiss the message, and you will get a screen that looks like this:
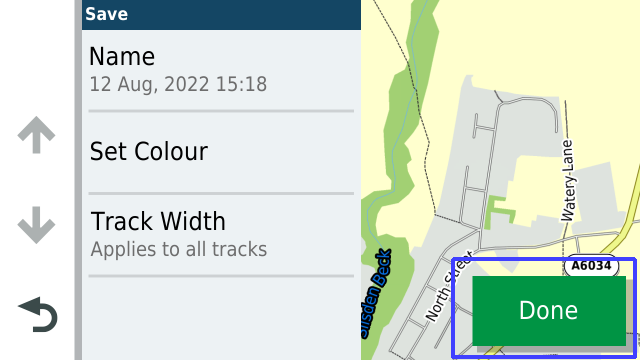
- Track Properties.png (76.86 KiB) Viewed 13017 times
You can set the name of the track, or leave it as the date and time. You can change the colour of the track and the track width.
If you have Explore set up, you will have other options available. I'm not going into those options here.
Remember to click '
Done' when you have finished.
Your track is saved.
=========================================================================================================================
To Use your Saved Track
Select Main Screen -> Tracks

- Main Screen.png (113.08 KiB) Viewed 13017 times
Select the Track Icon in the Top Left corner (Landscape View)
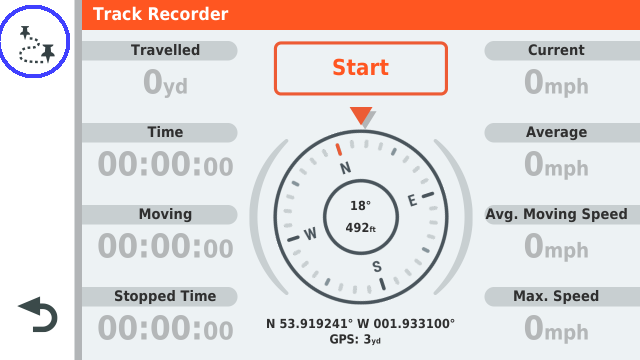
- Load Track.png (66.64 KiB) Viewed 13017 times
Your track will be saved with the date and time or with the name that you changed it to.
Select your track from the list
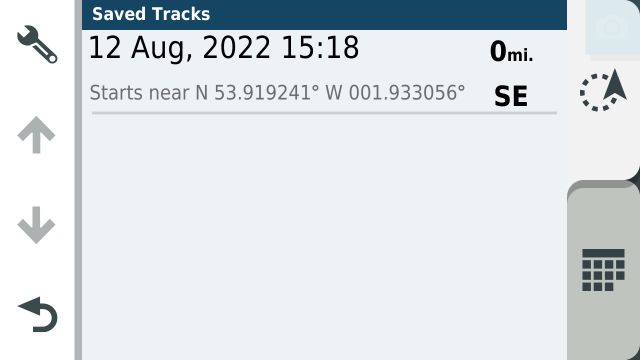
- Track List.png (32.08 KiB) Viewed 13017 times
With the track loaded, you can use the XT to navigate it. Simply press
Go!
Or you can click the Spanner in the top left hand corner.
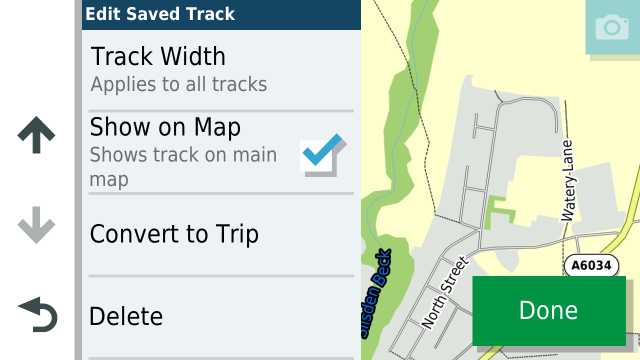
- Track Properties Extended Menu.png (86.9 KiB) Viewed 13017 times
This displays the track options screen, but now it has options to Convert to a Trip and Show on Map - depending on whether you have Garmin Explore set up or not. I prefer my XT not to have Explore set up. More information on this is here -
app.php/ZXT-P56
If you navigate the track, there are no spoken instructions, but it alerts you to how far you have strayed, and the direction to head to rejoin the track if you deviate.
If you convert the track to a trip, you can load the trip from the Trip Planner App on the main screen. With this type of Trip (I call it a track-trip), you get navigational instructions, the route never changes and if you stray from the route, it navigates you back to it. It has no route points, but it stays fixed anyway.